

Post by Frank Swarner on Aug 2, 2009 10:12:14 GMT -5
It's that time of year when it's too hot for my fishing preferences, which makes it perfect for time at the vice and daydreams of steelhead!!
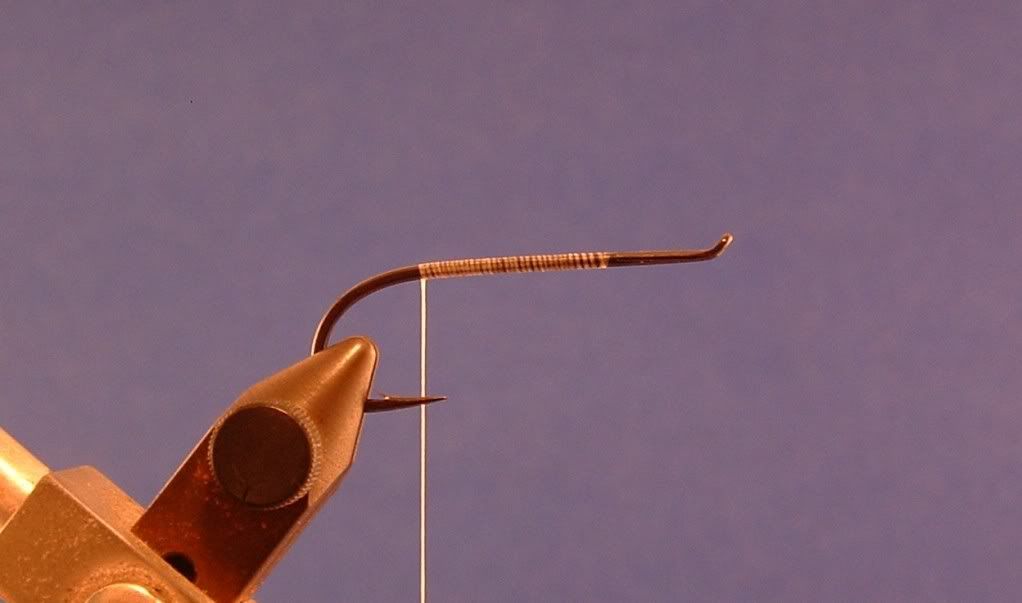
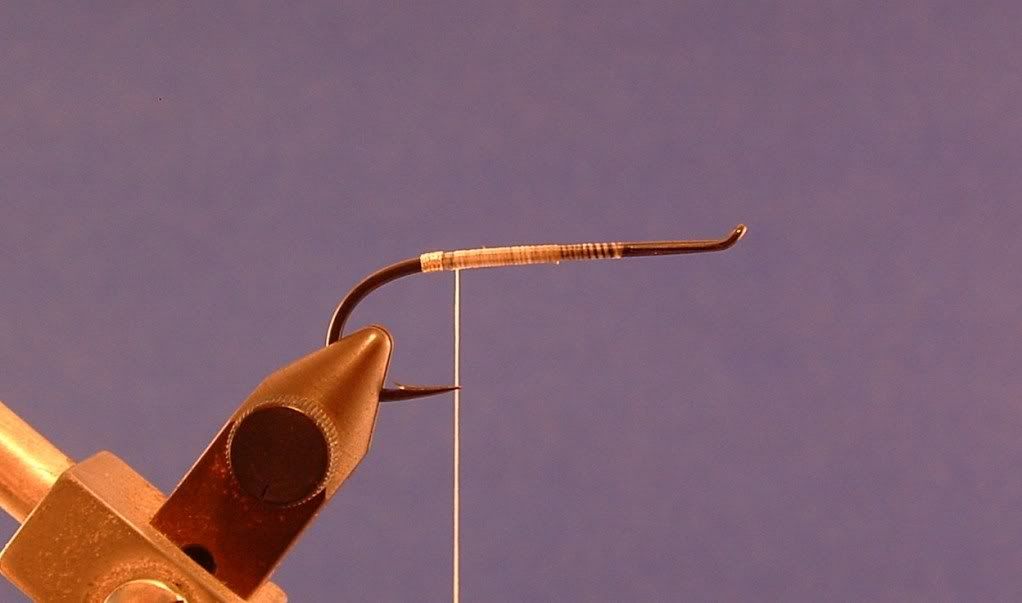
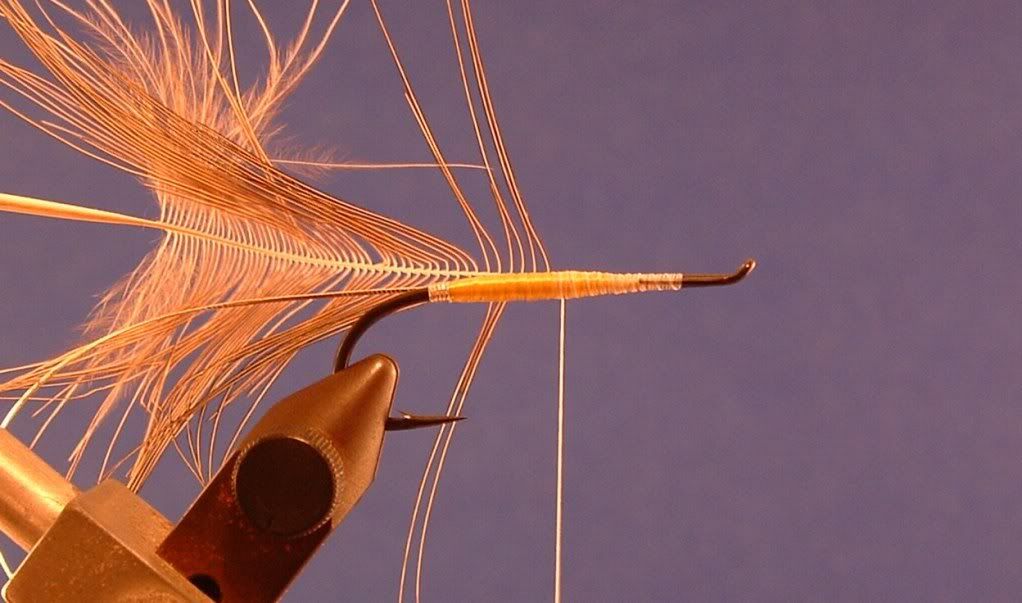
Stop the thread where the first wrap of tag will start. Wrap forward over butt end of tag material...in this case small oval tinsel. I like to attach it on the far side/underside of the hook shank.
FYI - twist is round tinsel......lace is 3 strands of twists wrapped together.....and oval is oval.
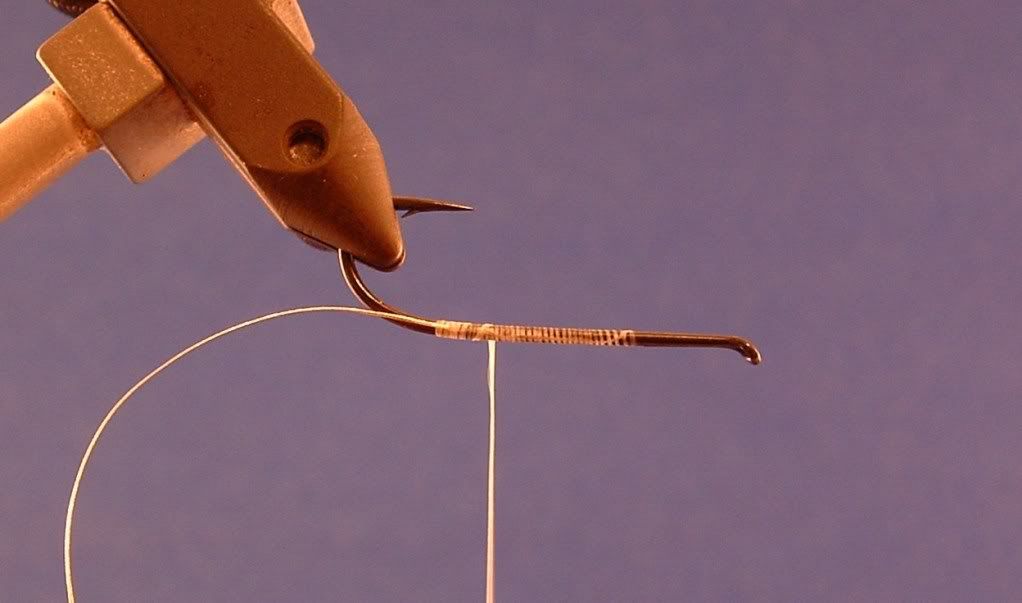
Wrap tag material forward and tie off. Tag end can extend to mid point of body or to tip of return wire for loop eye.
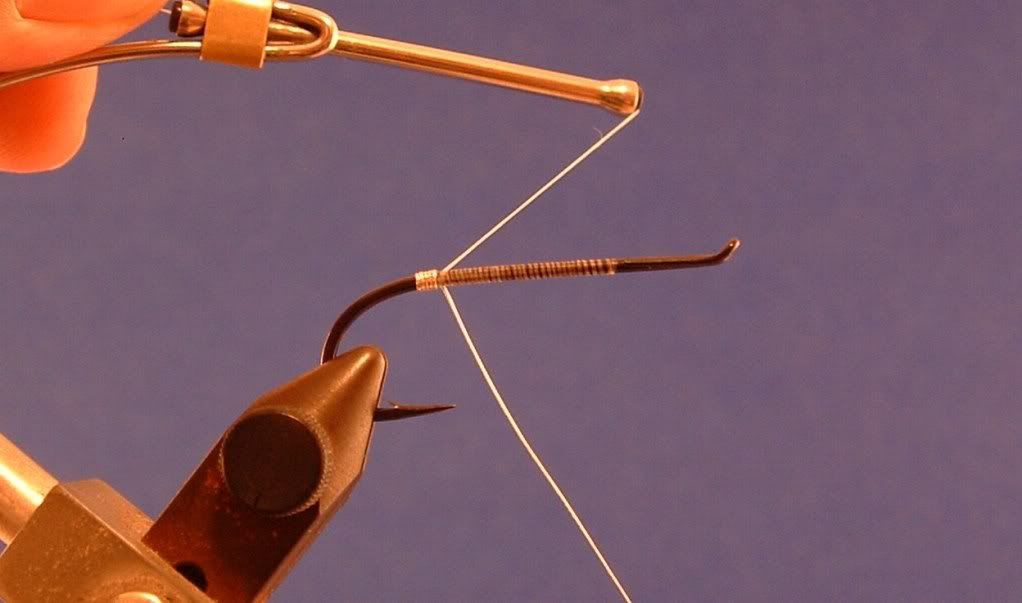
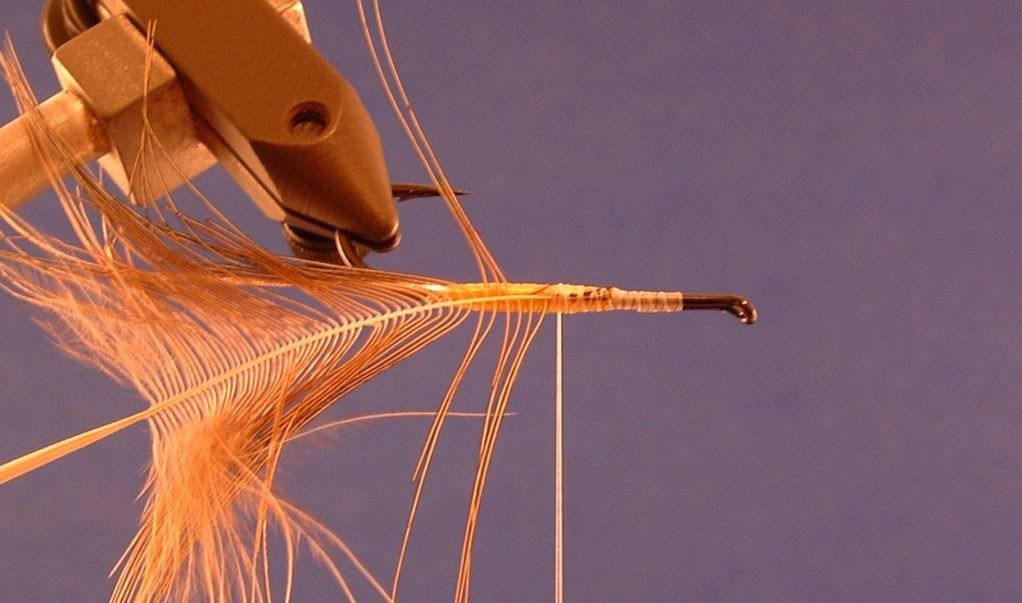
Continue wrapping the thread forward with side by side wraps, not overlapping. Take 2 -3 wraps and unspin thread to flatten it out. I'm right handed and wrap away from myself, so I spin the thread/bobbin clockwise.
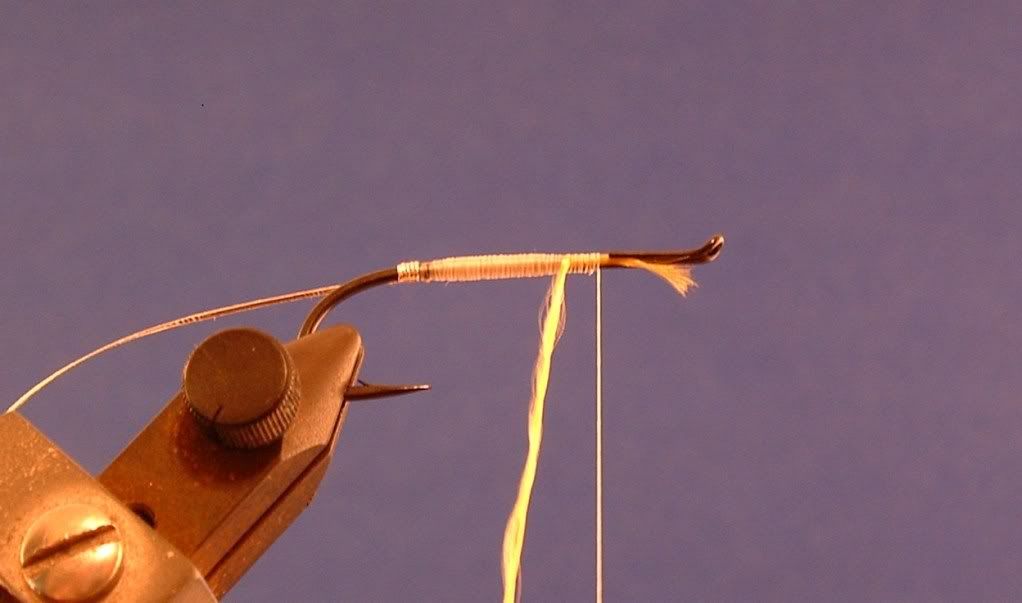
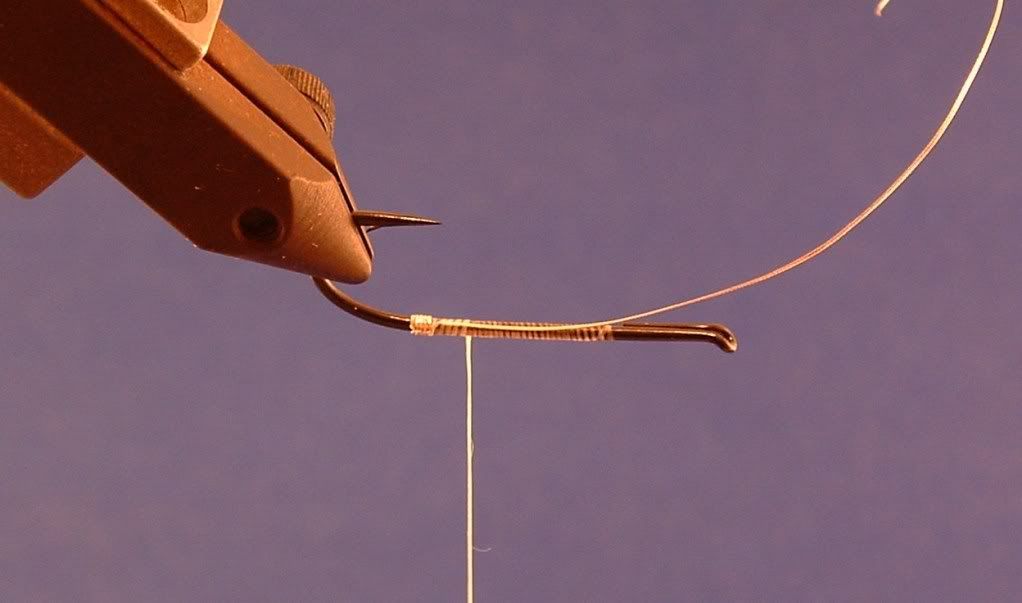
As you can see I've built up the underbody into a little cigar shape. This was done using the 8/0 tying thread, wrapping back towards the tag with edge to edge wraps, flattening the thread.....stop 3-5 turns short of tag. I stop short of the tag because I do not want a lump to form in front of the tag. Wrap forward, continuing to the return wire and stop. Wrap back towards the tag and stop shorter than the previous layer, return forward and stop about 6 wraps short of the return wire.
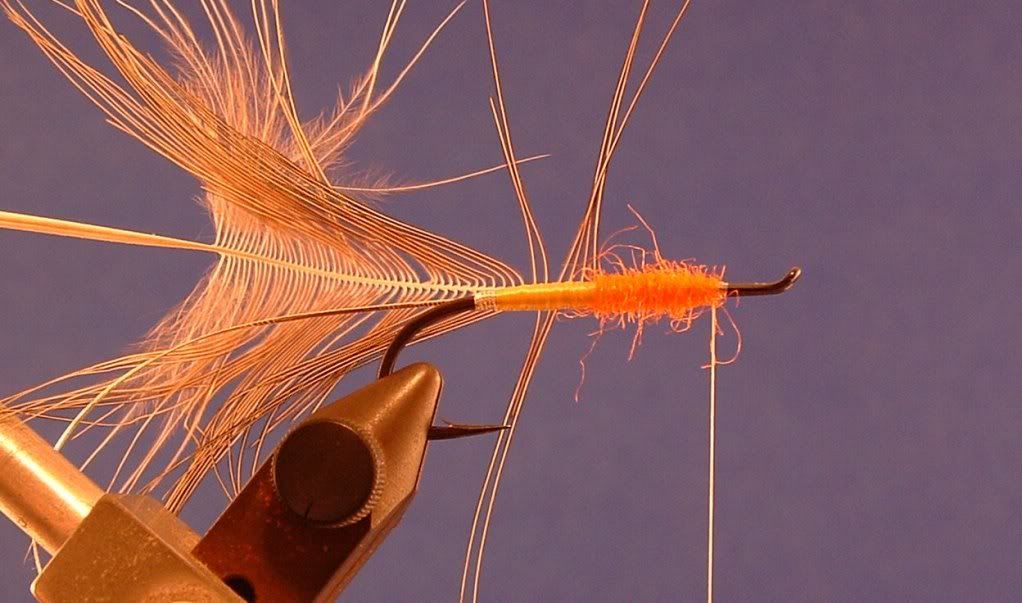
Attach the floss and wrap forward over tag, not back. After the floss body is wrapped back and forward it will hold itself if you keep tension on the floss
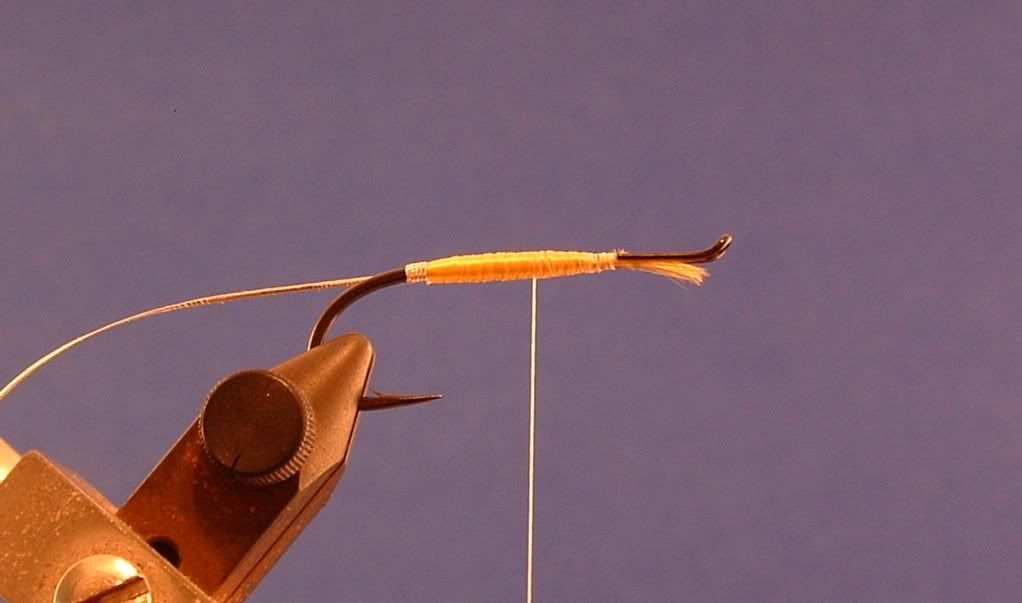
When I have the floss body complete I unwrap the intial turns of thread that held the floss tag, then wrap the thread over both tags to secure. Trim ends and wrap thread over floss to midpoint of body.
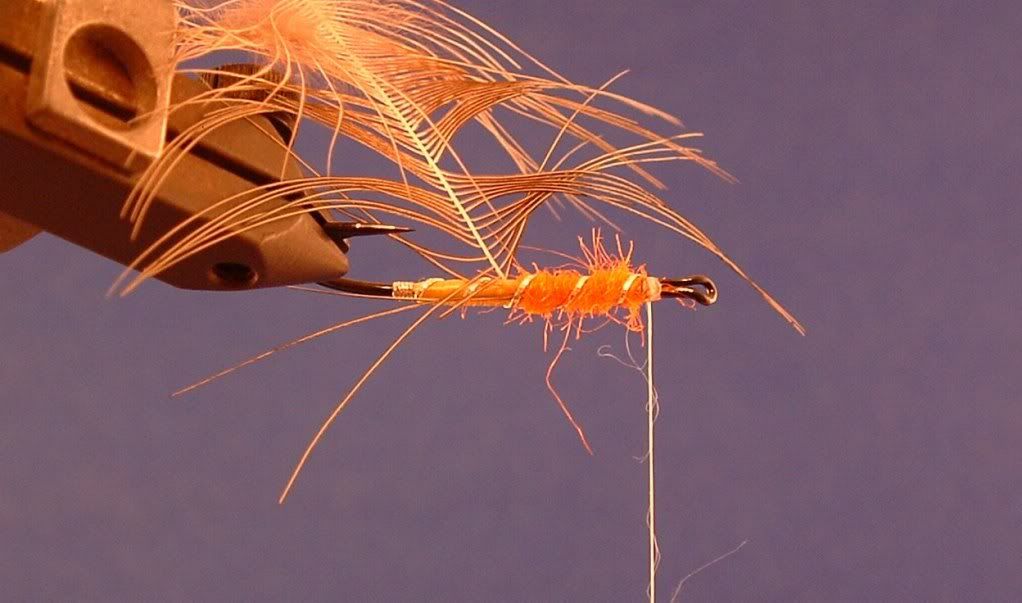
Attach spey hackle (pheasant rump) to underside of hook shank and apply dubbing (seal sub) to the front half of the body. I wanted a tight body so I spun the dubbing onto the thread.
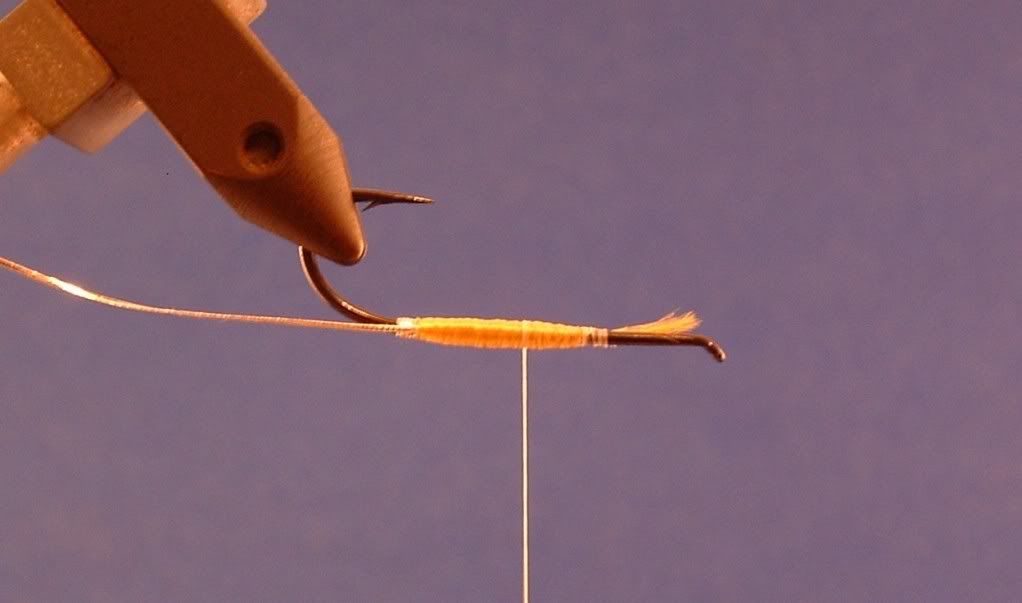
Rib the body with the oval tinsel, making sure the middle rib is just touching the front edge of the hackle tie in point. The wraps of hackle will follow the back edge of the oval tinsel rib. Tie the tinsel off at the front with 3-4 wraps and remember how many wraps you made.
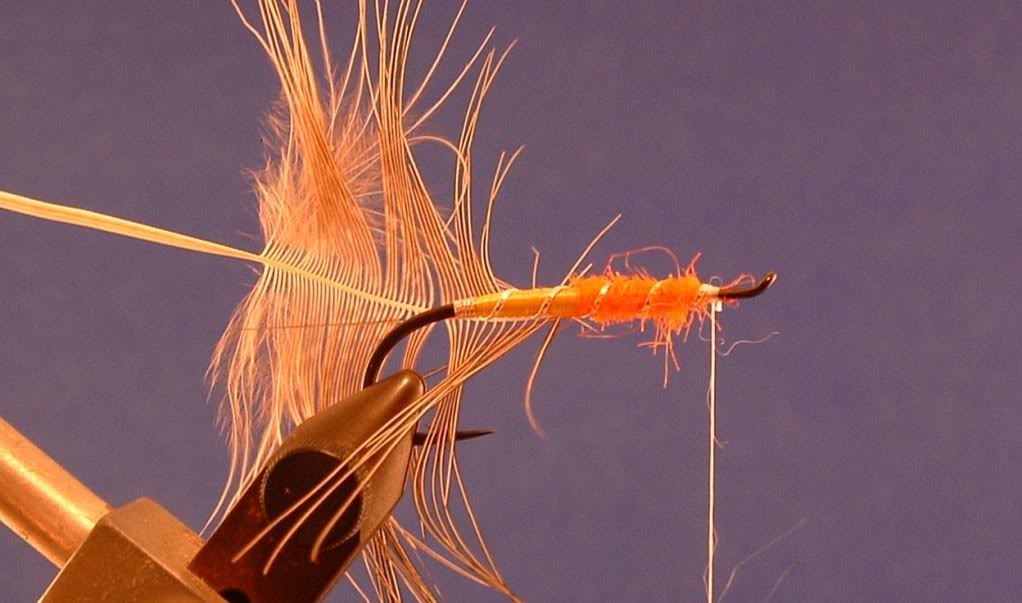
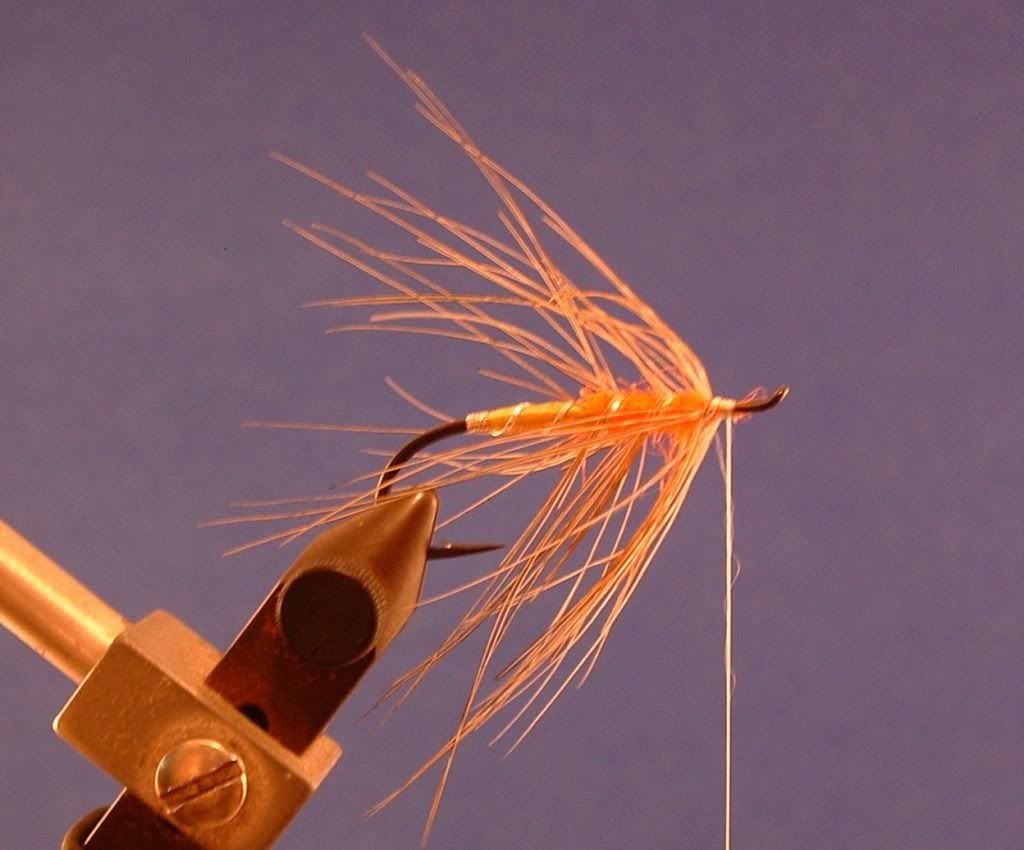
Wrap the hackle forward following the rear edge of the ribbing. Unwrap your thread 2-3 wraps.....do you remember how many you made? Then tie in the stem of the spey hackle with 3-4 turns......remember them again!!

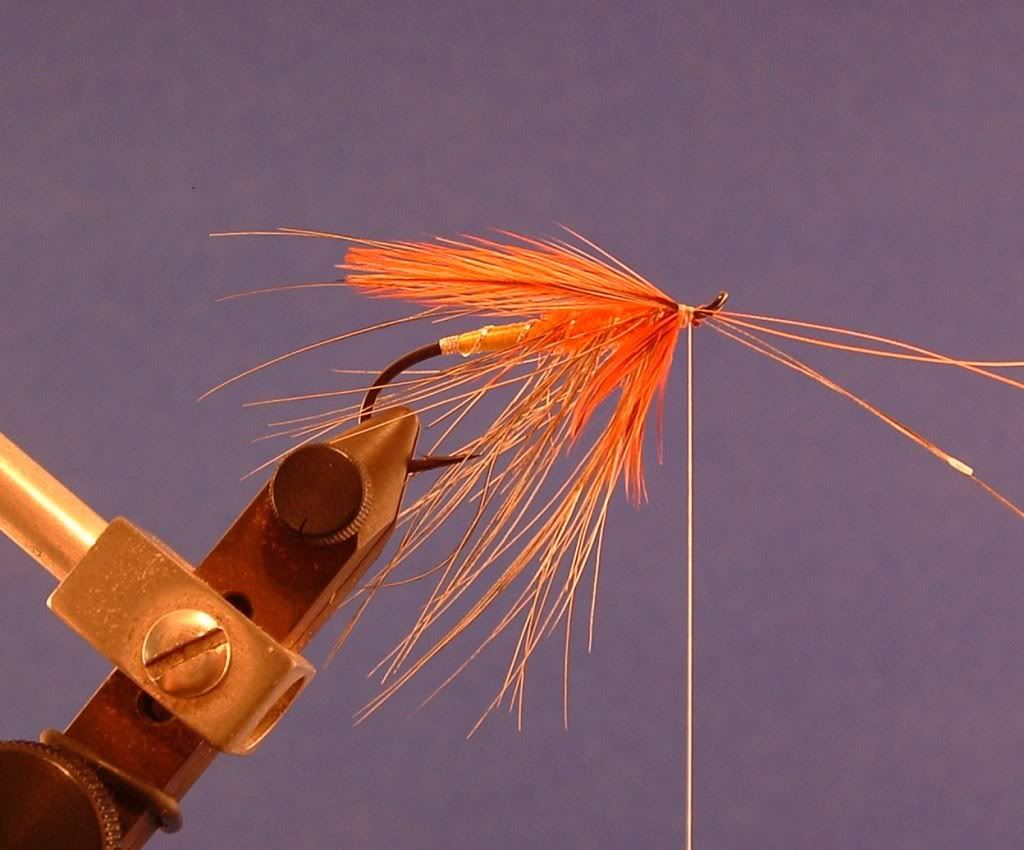
Try to part the fibers on top of the hook shank, fold them down and pinch them underneath the hook shank.
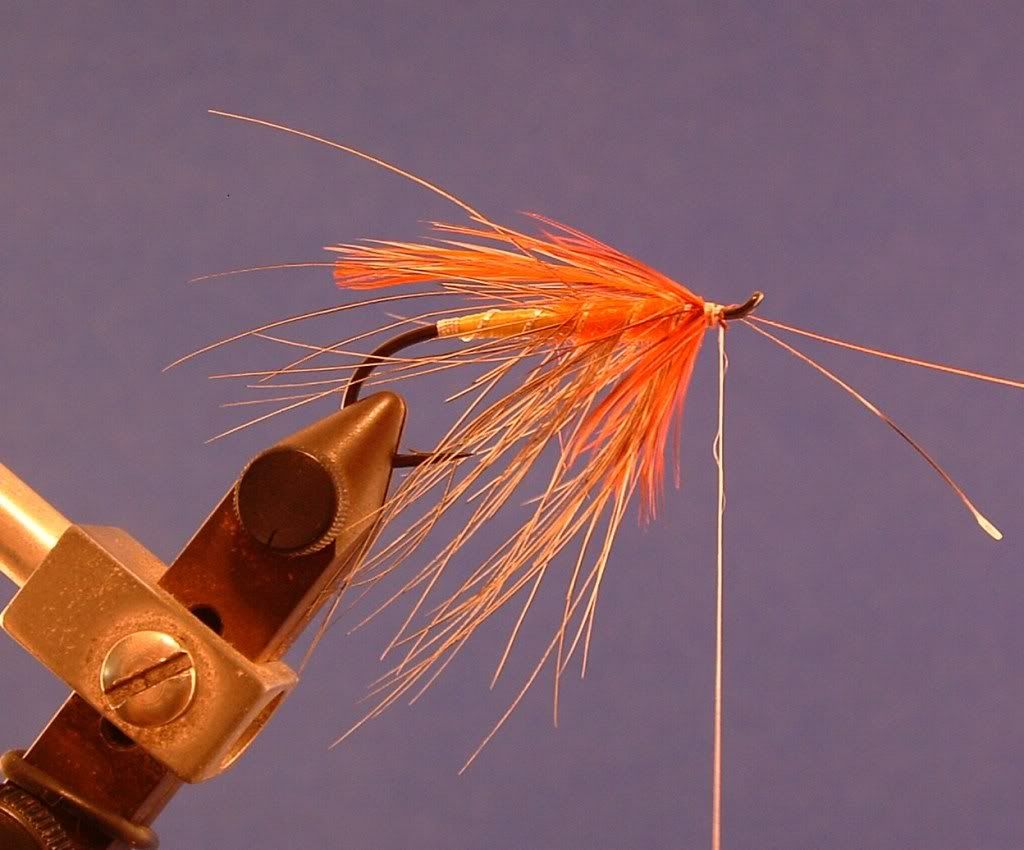
I didn't have any great winging material that I liked for this application so I went with what I had available in to keep things similar. Pair and size your wings so the tips are between the barb of the hook and the hook bend....don't extend the wing tips past the bend of the hook!! I prefer to tie the far or left wing on first, and for tented wings I think of it as tying the left wing on the left return wire of the hook eye.........and the near or right wing will be tied on the right return wire of the hook eye. (notice where the stems are sticking out in the head on views....even though they aren't the best shots) I do 2 semi-tight wraps and two more to clinch it.
Unwrap 1-2 turns of thread and repeat the process for the near wing. This one gives me the most problems.....sometimes I reverse the thread direction to attach it, but that adds bulk.
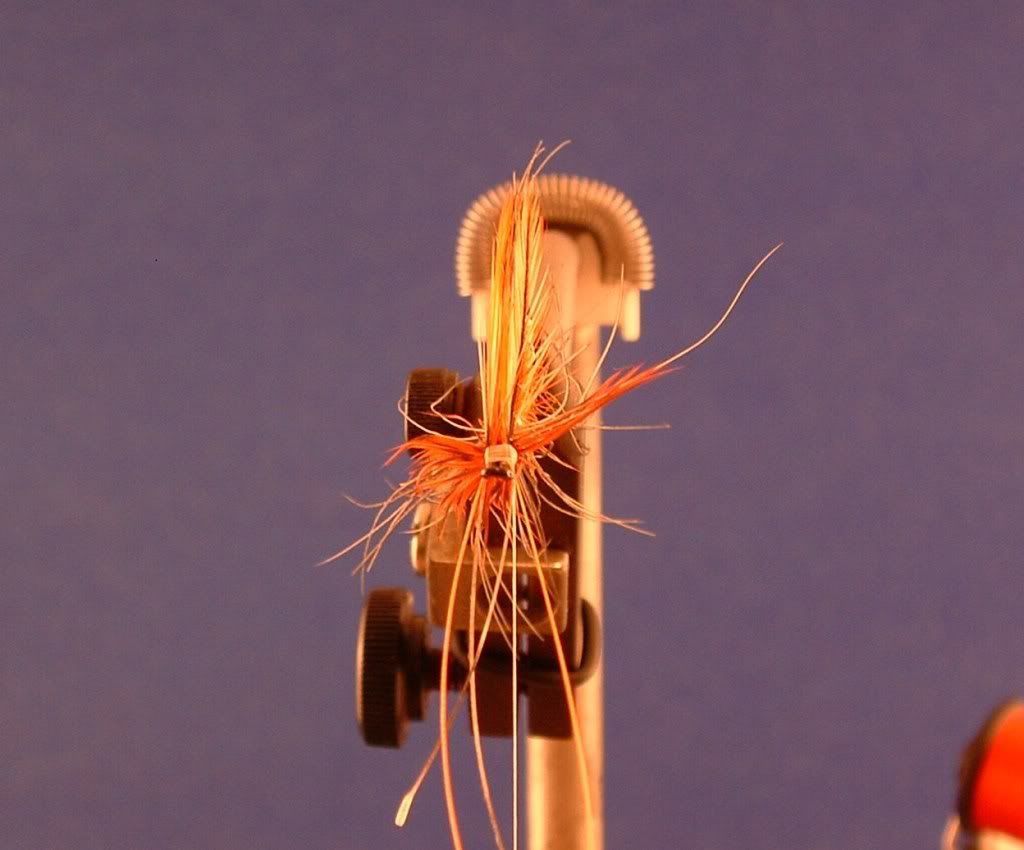
The wings don't look very tented, but you can see each one is on its own return wire of the loop eye. Notice where the stems are pointing.
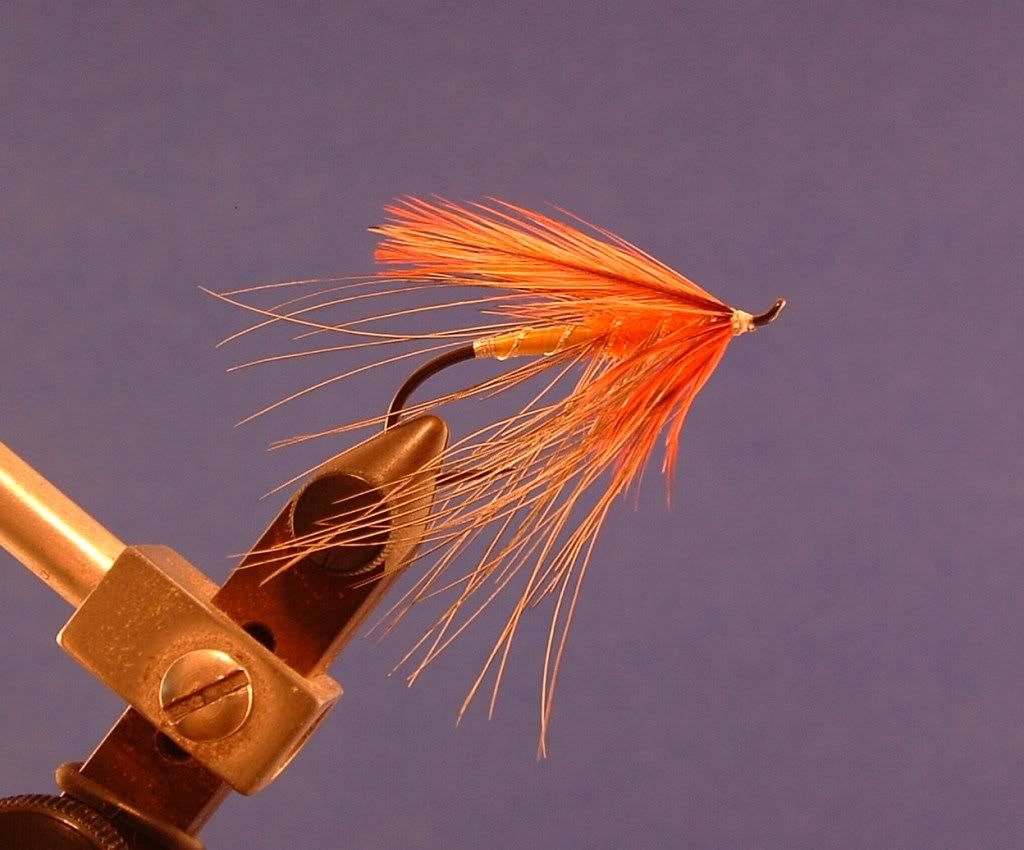
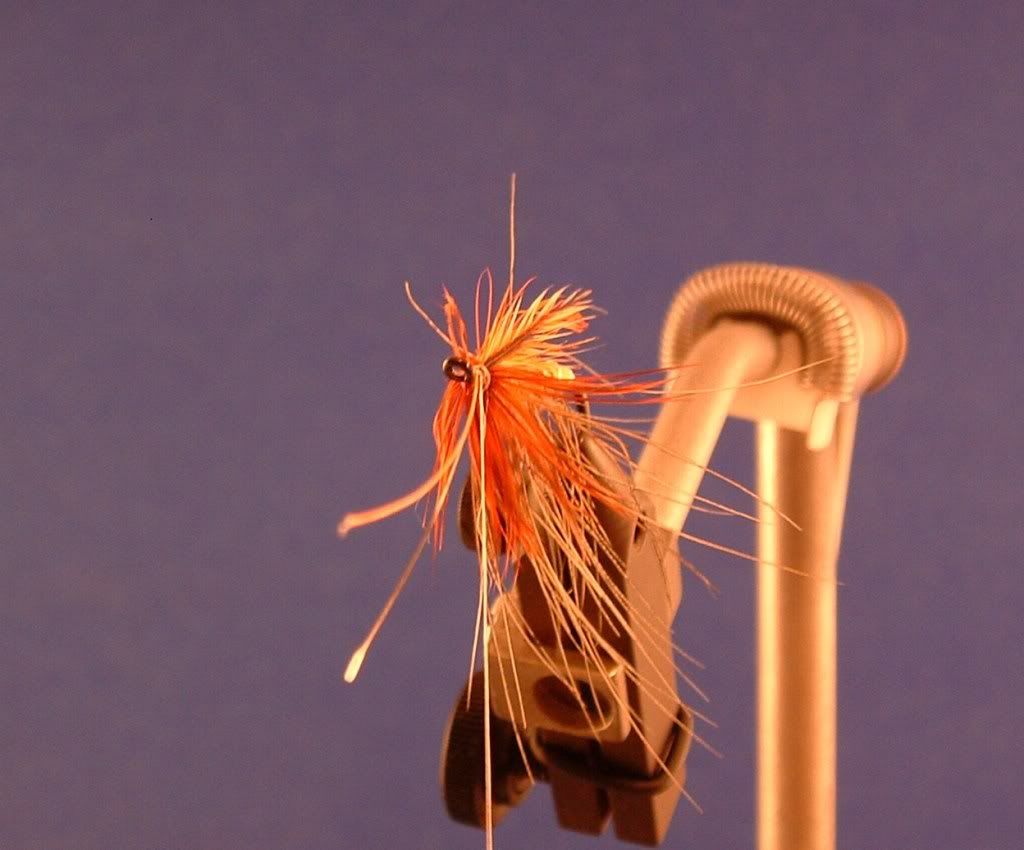
EWW!! unfinished head!!
Stop the thread where the first wrap of tag will start. Wrap forward over butt end of tag material...in this case small oval tinsel. I like to attach it on the far side/underside of the hook shank.
FYI - twist is round tinsel......lace is 3 strands of twists wrapped together.....and oval is oval.
Wrap tag material forward and tie off. Tag end can extend to mid point of body or to tip of return wire for loop eye.
Continue wrapping the thread forward with side by side wraps, not overlapping. Take 2 -3 wraps and unspin thread to flatten it out. I'm right handed and wrap away from myself, so I spin the thread/bobbin clockwise.
As you can see I've built up the underbody into a little cigar shape. This was done using the 8/0 tying thread, wrapping back towards the tag with edge to edge wraps, flattening the thread.....stop 3-5 turns short of tag. I stop short of the tag because I do not want a lump to form in front of the tag. Wrap forward, continuing to the return wire and stop. Wrap back towards the tag and stop shorter than the previous layer, return forward and stop about 6 wraps short of the return wire.
Attach the floss and wrap forward over tag, not back. After the floss body is wrapped back and forward it will hold itself if you keep tension on the floss
When I have the floss body complete I unwrap the intial turns of thread that held the floss tag, then wrap the thread over both tags to secure. Trim ends and wrap thread over floss to midpoint of body.
Attach spey hackle (pheasant rump) to underside of hook shank and apply dubbing (seal sub) to the front half of the body. I wanted a tight body so I spun the dubbing onto the thread.
Rib the body with the oval tinsel, making sure the middle rib is just touching the front edge of the hackle tie in point. The wraps of hackle will follow the back edge of the oval tinsel rib. Tie the tinsel off at the front with 3-4 wraps and remember how many wraps you made.
Wrap the hackle forward following the rear edge of the ribbing. Unwrap your thread 2-3 wraps.....do you remember how many you made? Then tie in the stem of the spey hackle with 3-4 turns......remember them again!!
Try to part the fibers on top of the hook shank, fold them down and pinch them underneath the hook shank.
I didn't have any great winging material that I liked for this application so I went with what I had available in to keep things similar. Pair and size your wings so the tips are between the barb of the hook and the hook bend....don't extend the wing tips past the bend of the hook!! I prefer to tie the far or left wing on first, and for tented wings I think of it as tying the left wing on the left return wire of the hook eye.........and the near or right wing will be tied on the right return wire of the hook eye. (notice where the stems are sticking out in the head on views....even though they aren't the best shots) I do 2 semi-tight wraps and two more to clinch it.
Unwrap 1-2 turns of thread and repeat the process for the near wing. This one gives me the most problems.....sometimes I reverse the thread direction to attach it, but that adds bulk.
The wings don't look very tented, but you can see each one is on its own return wire of the loop eye. Notice where the stems are pointing.
EWW!! unfinished head!!